Shed – Project Black [Part I]
One of the best things about new projects is the process of seeing the build take shape. Seeing it all come together at the end is so rewarding. But sometimes it can be never ending because you’re always wanting to add more things to it. Everyday I find something else to add or take away.
This is an overdue post about the shed I started last March. It was a project that I had many doubts about especially because I’ve never taken on one the size of this. It was definitely out of my comfort zone and I had no knowledge at all about how to build one. What’s great is that YouTube is available and there are many great guides on how to build a shed. So now I have the basic knowledge of how to build a shed. Below are the photos from that project which took roughly 8 months to build. March 2024 to October 2024.
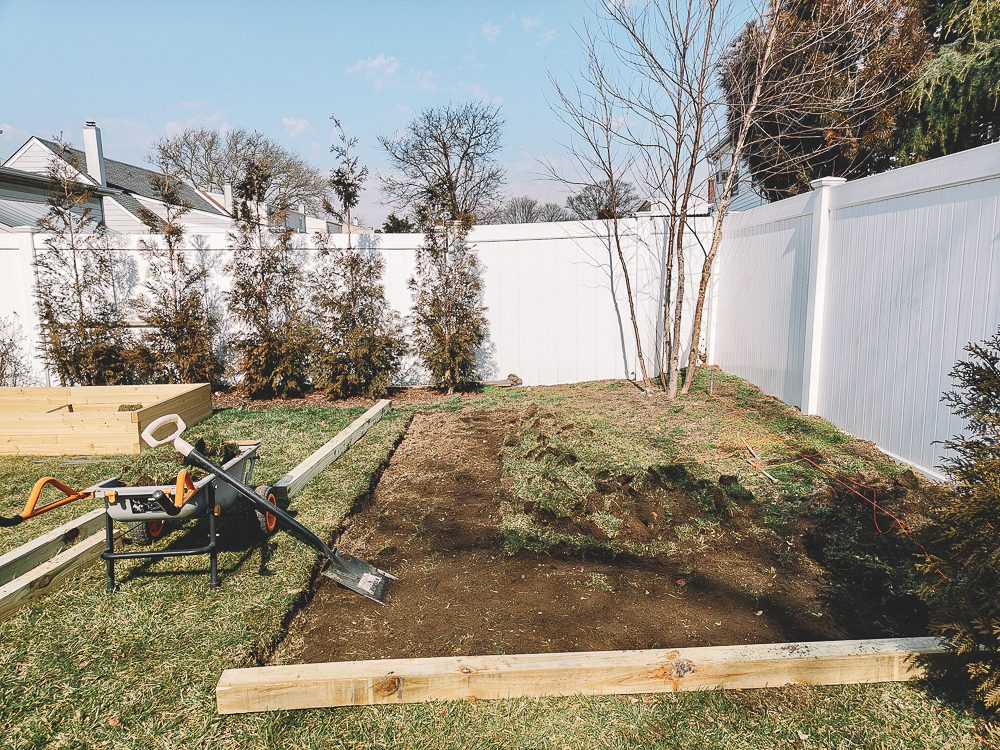
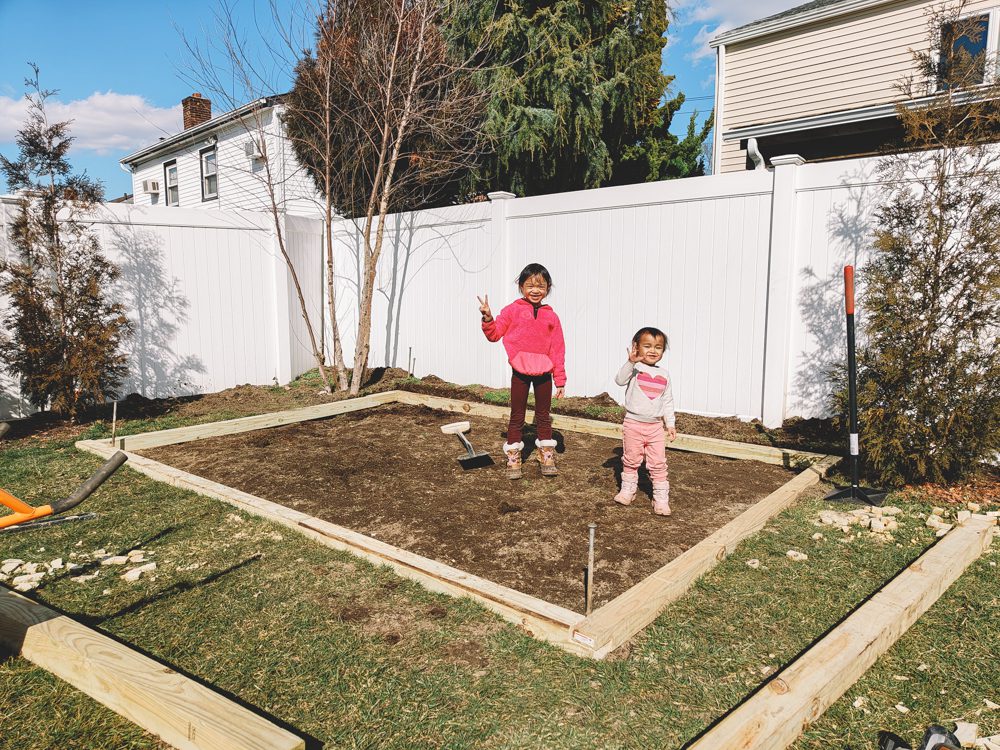
The Space
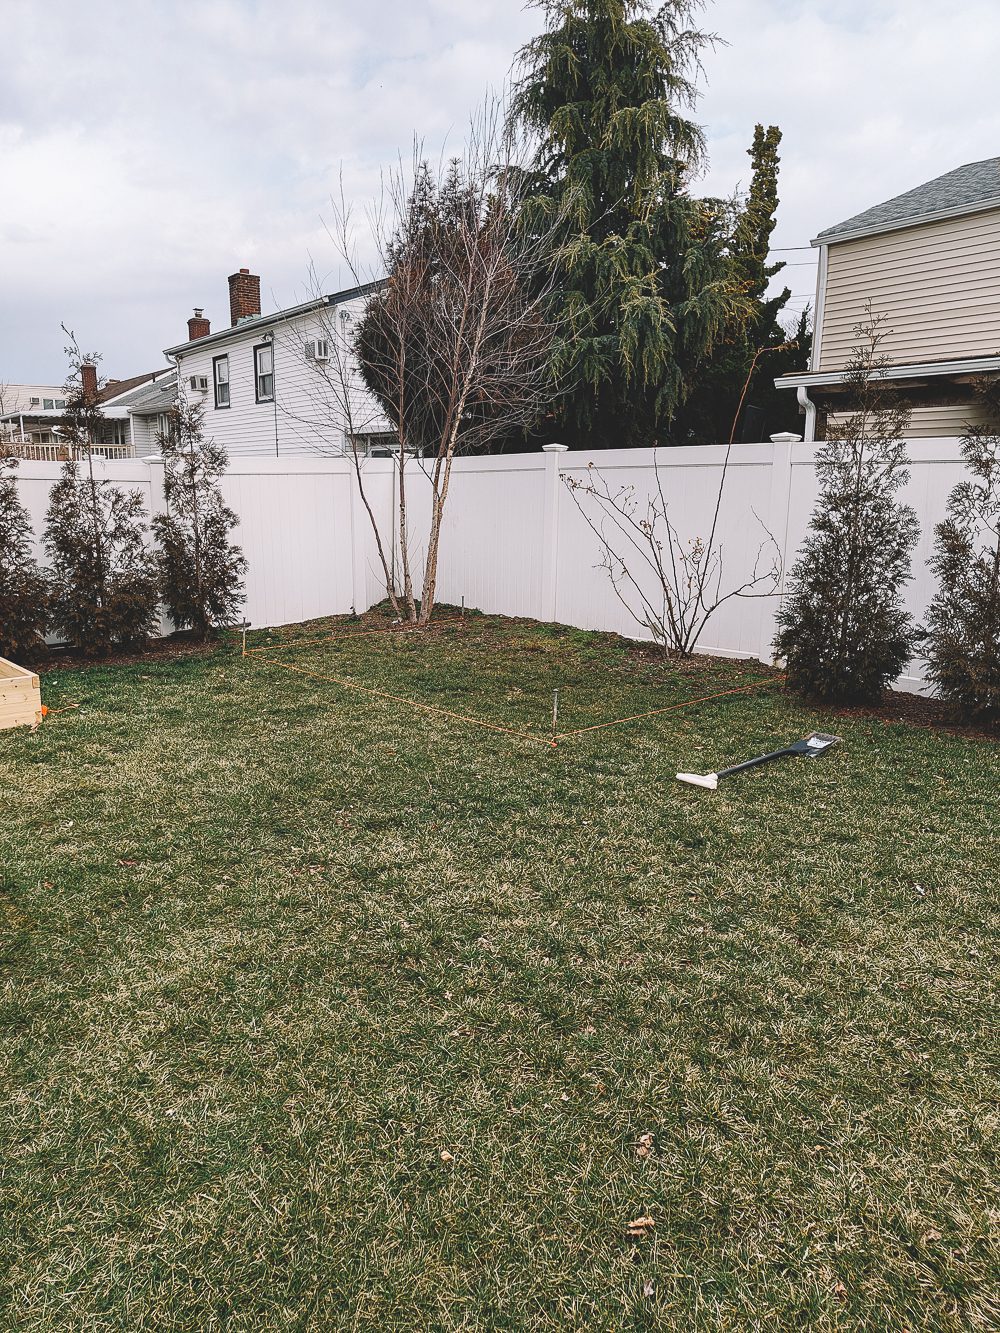
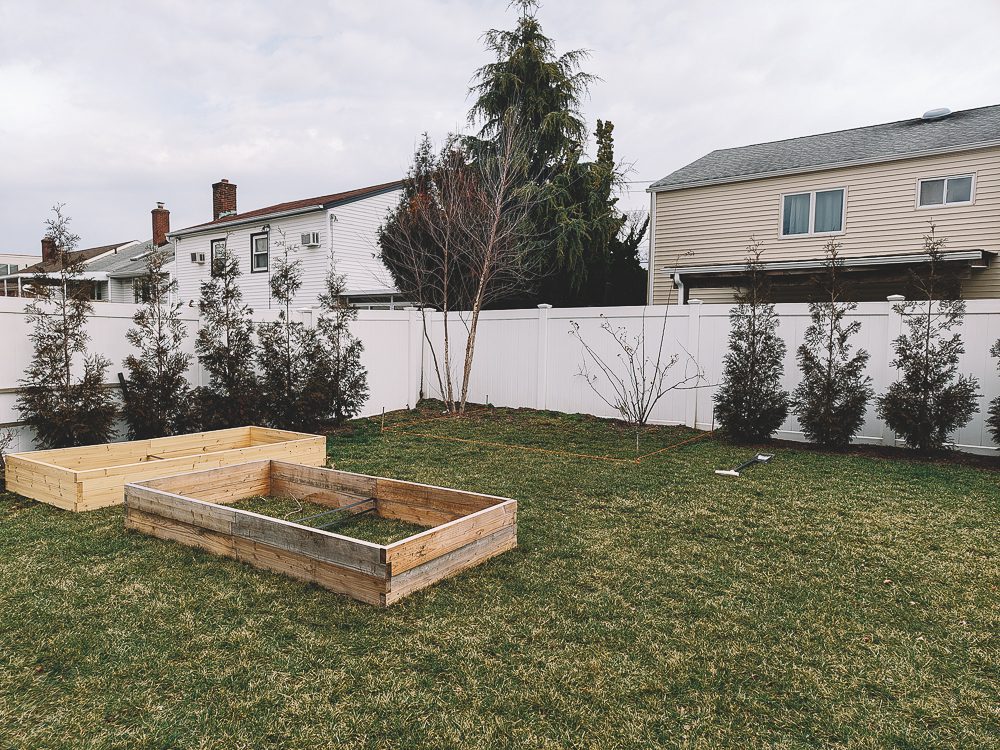
It took a while for me to figure out the shed placement. That’s because I also wanted to plan the placement of the raised beds after the shed was built. The previous shed, which I’ll add photos of in a different post, was oriented facing south. If you look at the second photo below, it was placed to the left of the river birch where there 5 privacy trees are planted. The orange masonry line is slightly visible on the photos so I made a slight pivot and oriented the new shed facing west towards our house. The plan was to have one single door on the long side of the shed while also adding double doors facing south on the short side. As time went on I decided to scrap the double doors and you’ll see that later on. When I planted the privacy trees, I did not yet have an idea of how large I wanted the shed. But once I started brainstorming the shed dimensions I was relieved to find that I did have enough space for at least a 12×8 shed which is a tiny bit bigger than the previous shed we had which was an 8×10.
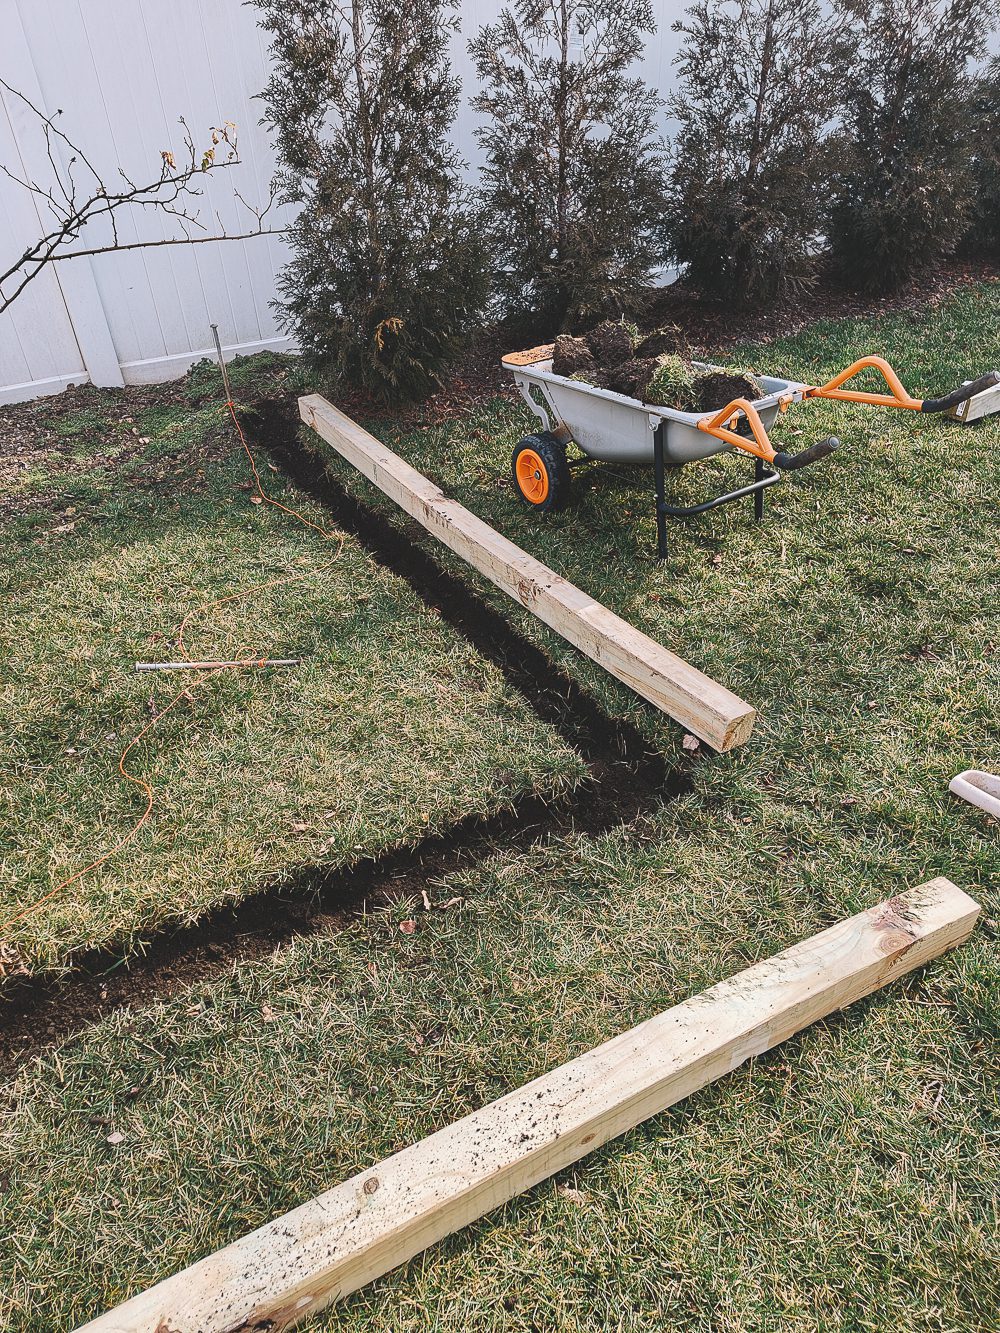
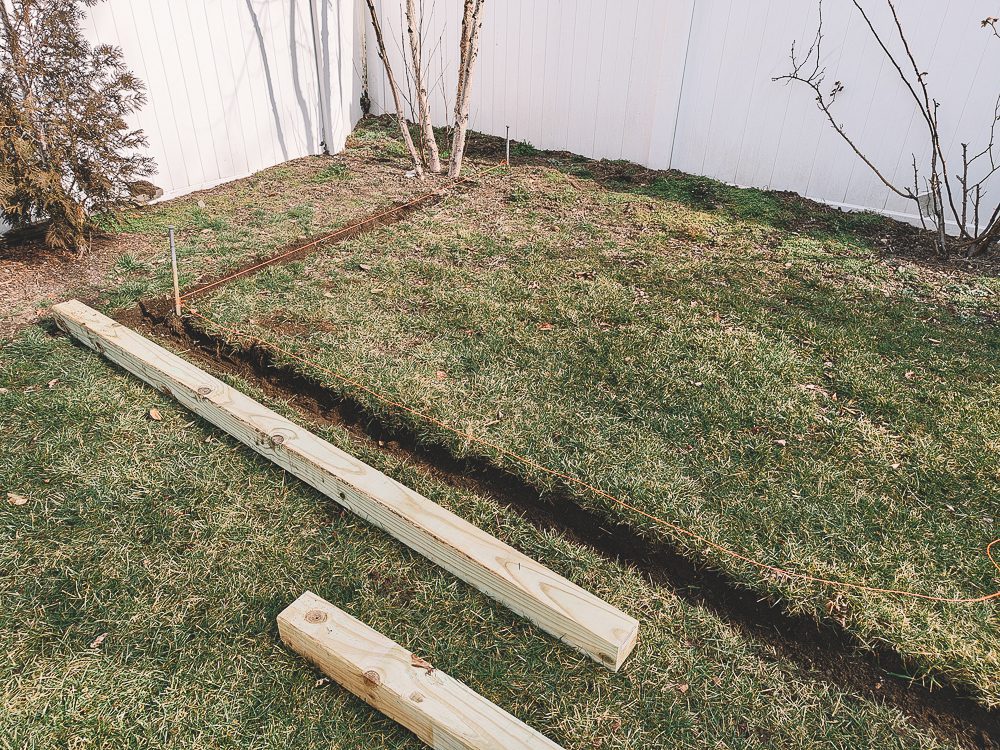
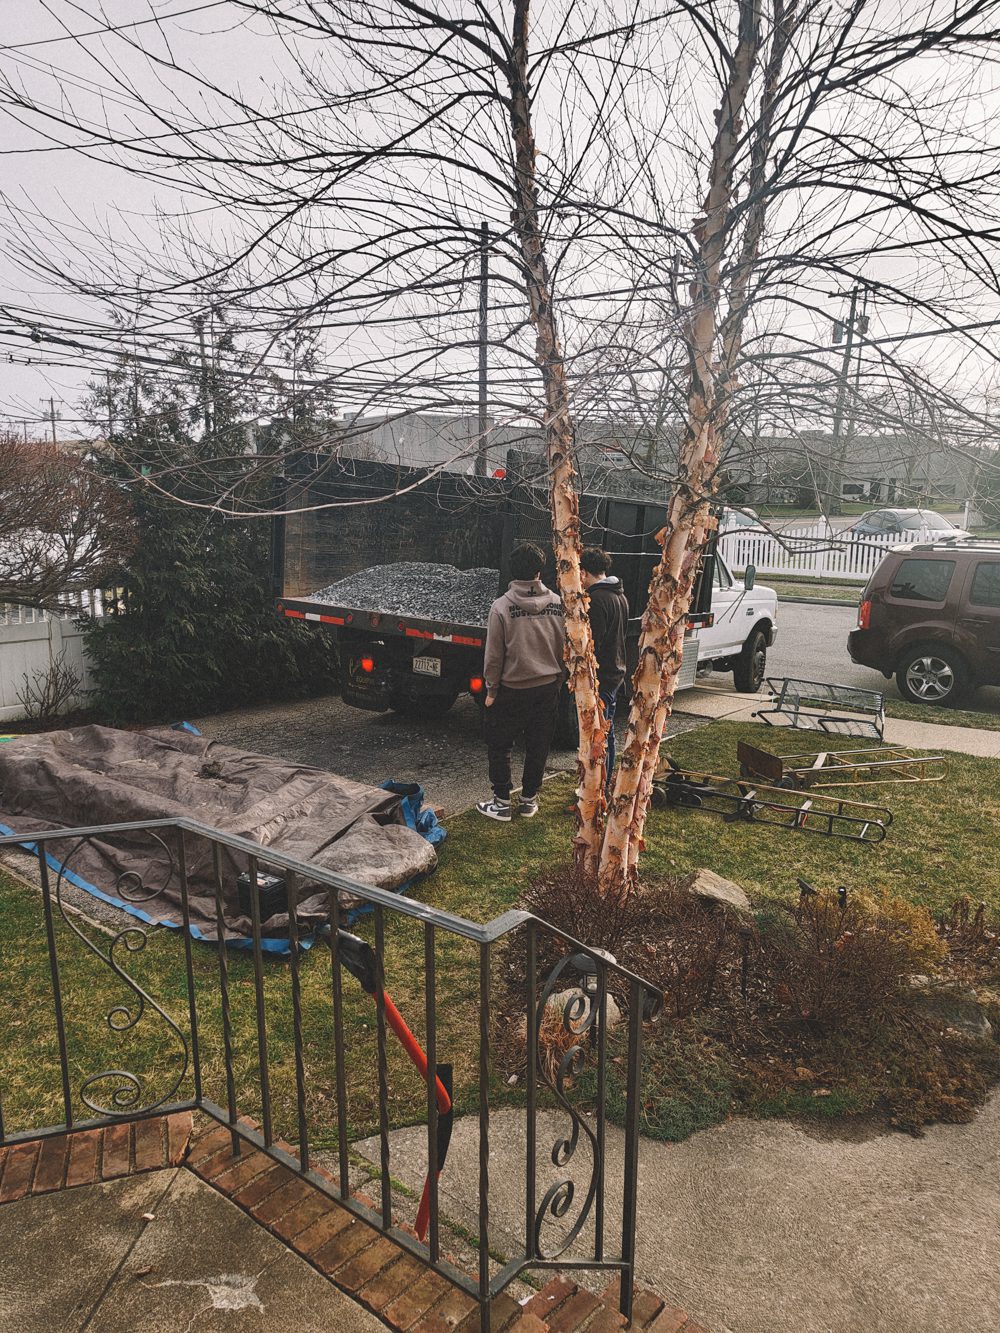
The Trench
The next set of photos shows the beginning of the digging process for the foundation. I decided to go with crushed gravel (Blue Stone) for the base of the shed. There were other options such as complete cement or you can just place it on top of the grass. But if I was going to build a shed I wanted to make sure I had something that was semi-permanent (cement would be more difficult to more in the future) and something that gave good drainage for better floor longevity. Again, most of what I implemented in this build was taken from many different sources and I just chose the one that best fit our preferences.
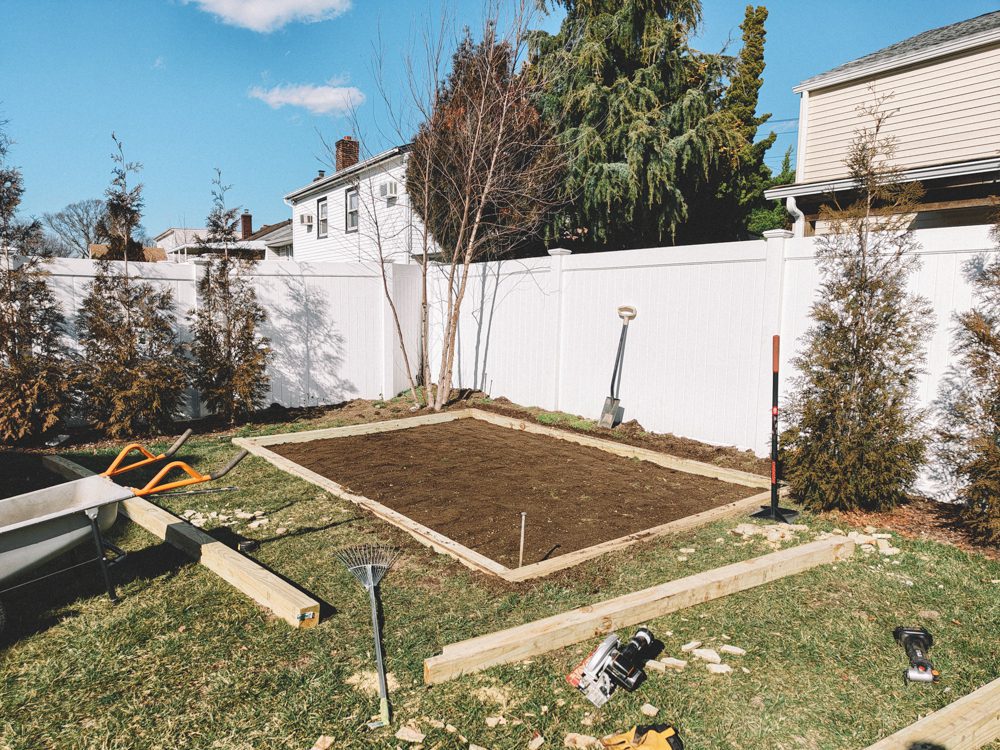
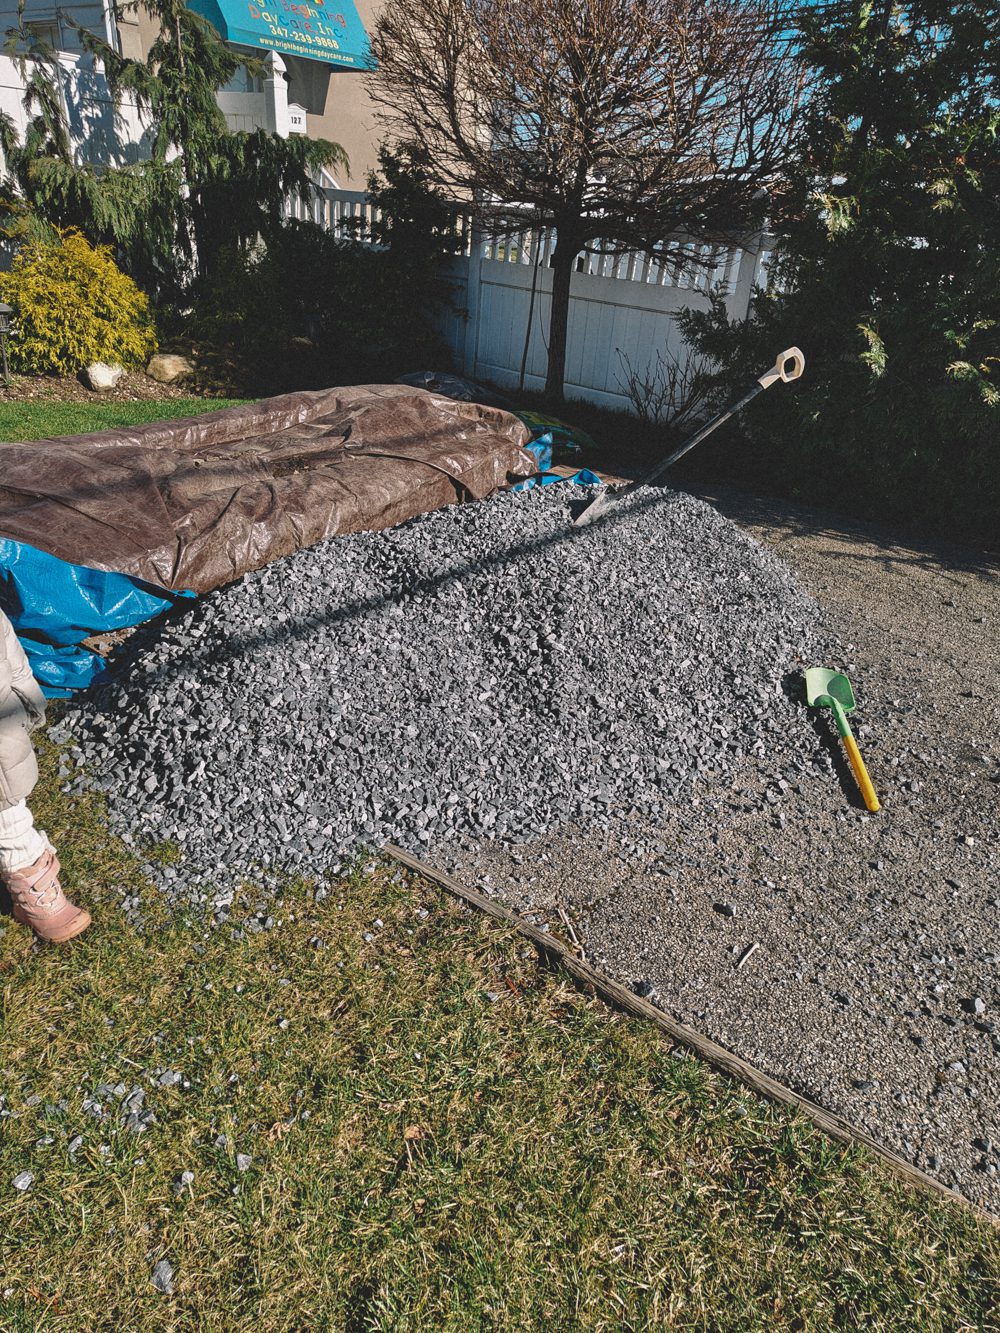
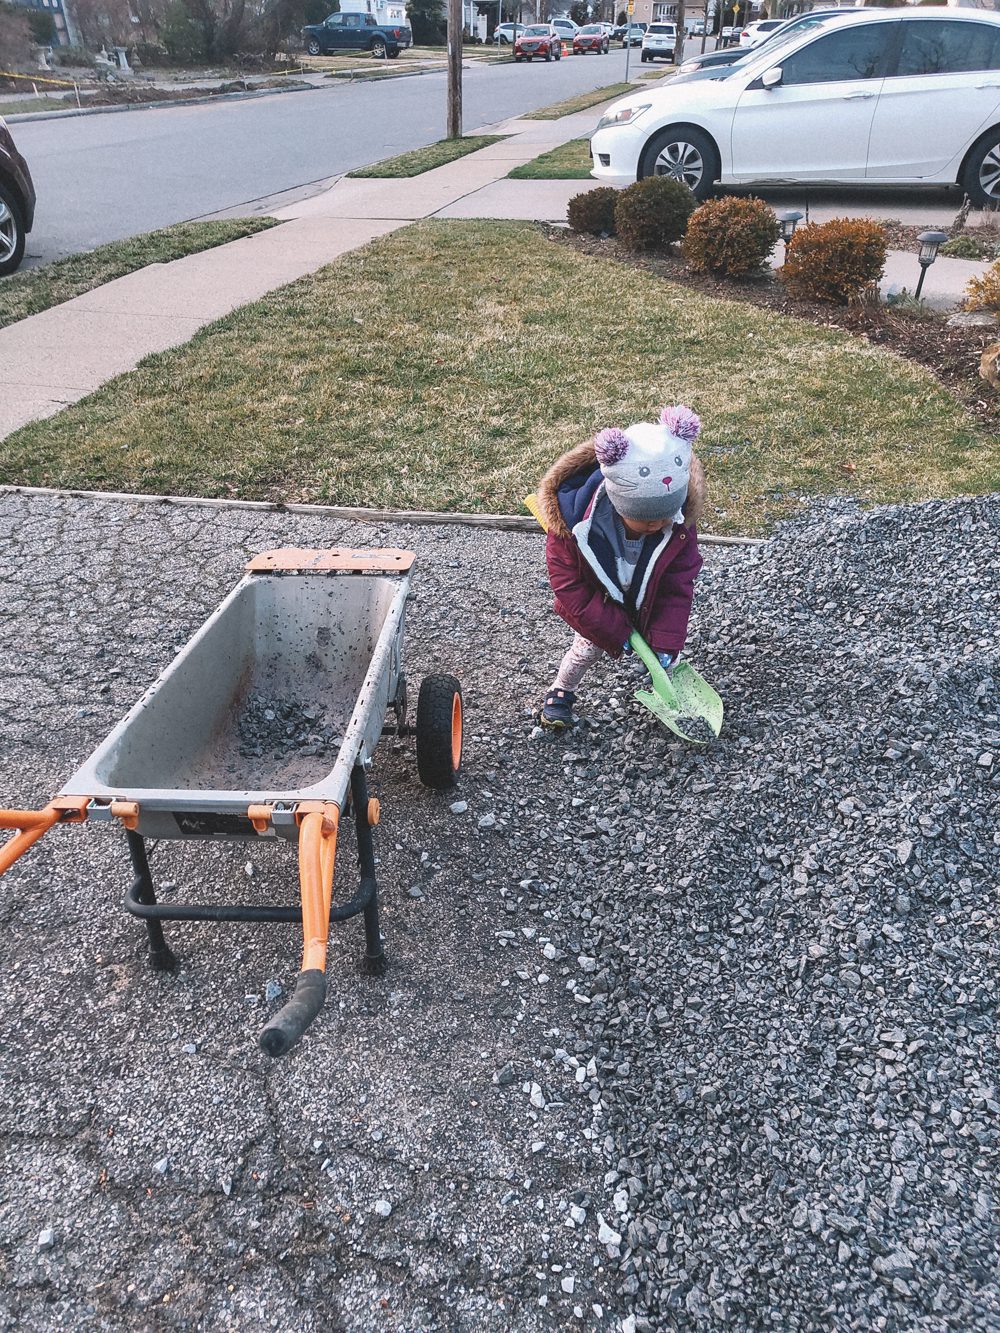
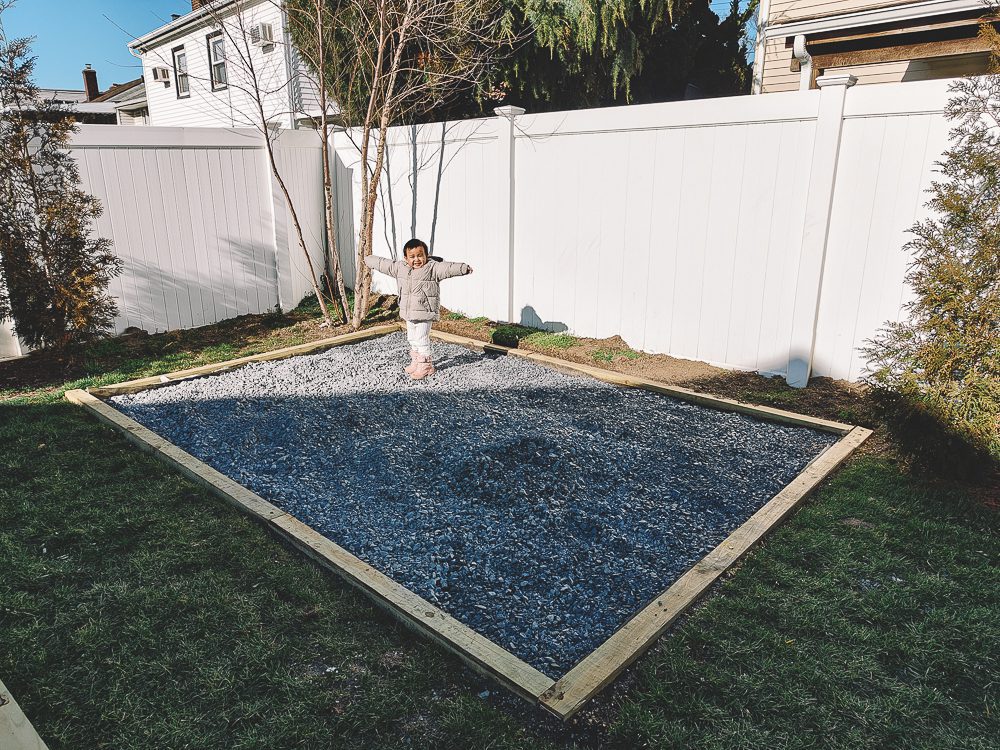
Blue Stone
The next set of photos shows the beginning of the digging process for the foundation. I decided to go with crushed gravel (Blue Stone) for the base of the shed. There were other options such as complete cement or you can just place it on top of the grass. But if I was going to build a shed I wanted to make sure I had something that was semi-permanent (cement would be more difficult to more in the future) and something that gave good drainage for better floor longevity. Again, most of what I implemented in this build was taken from many different sources and I just chose the one that best fit our preferences.
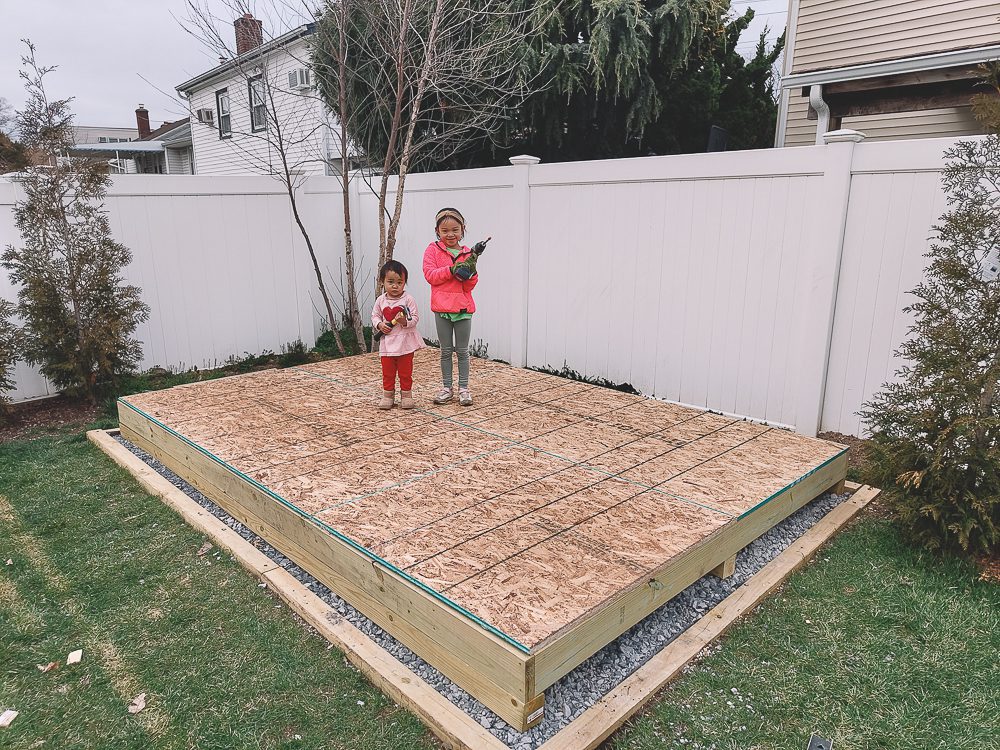
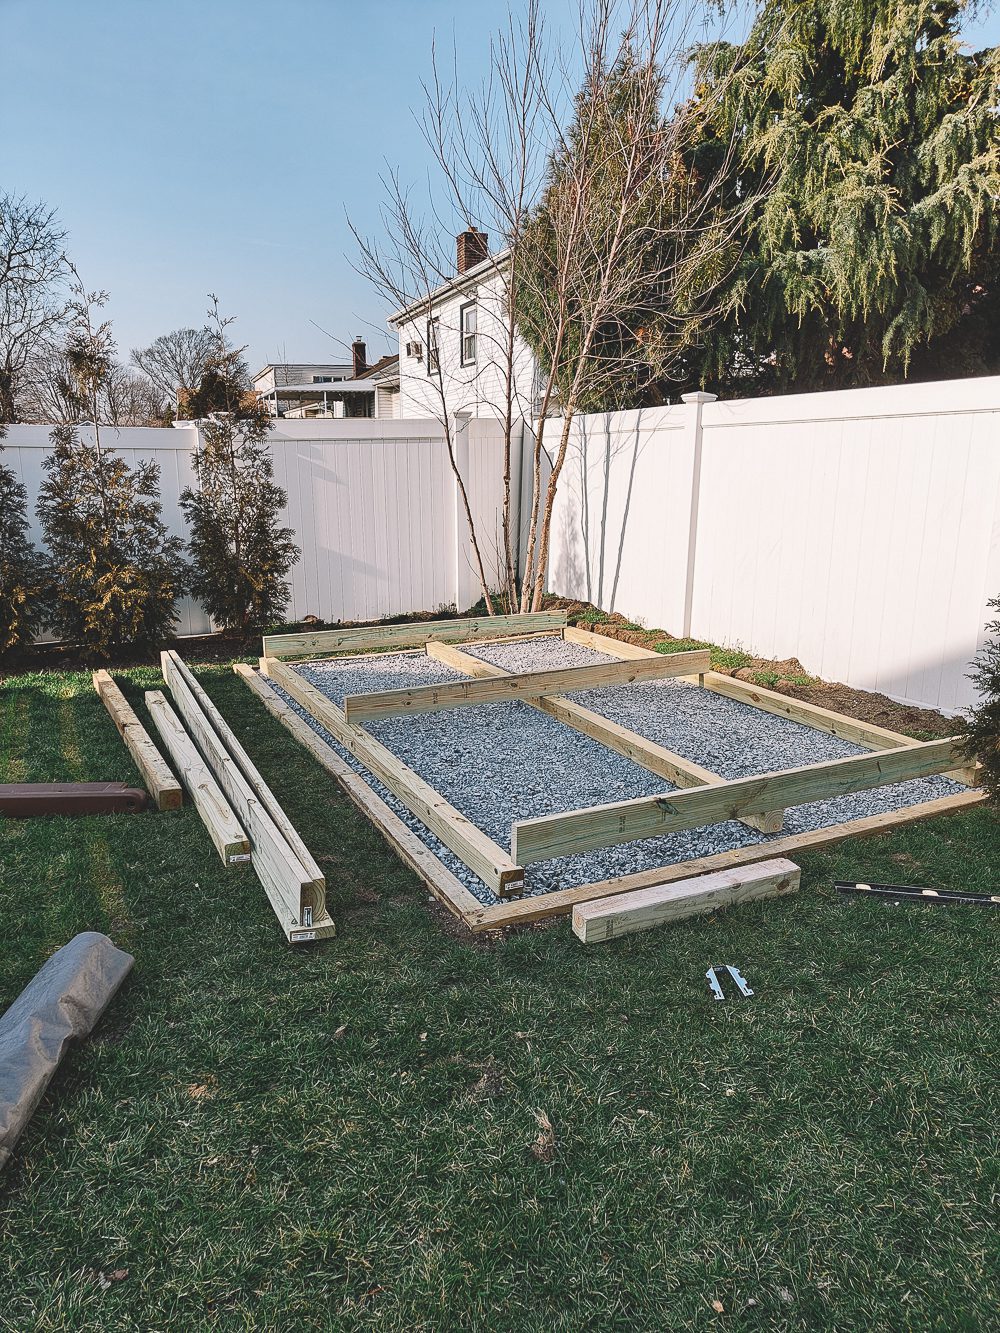
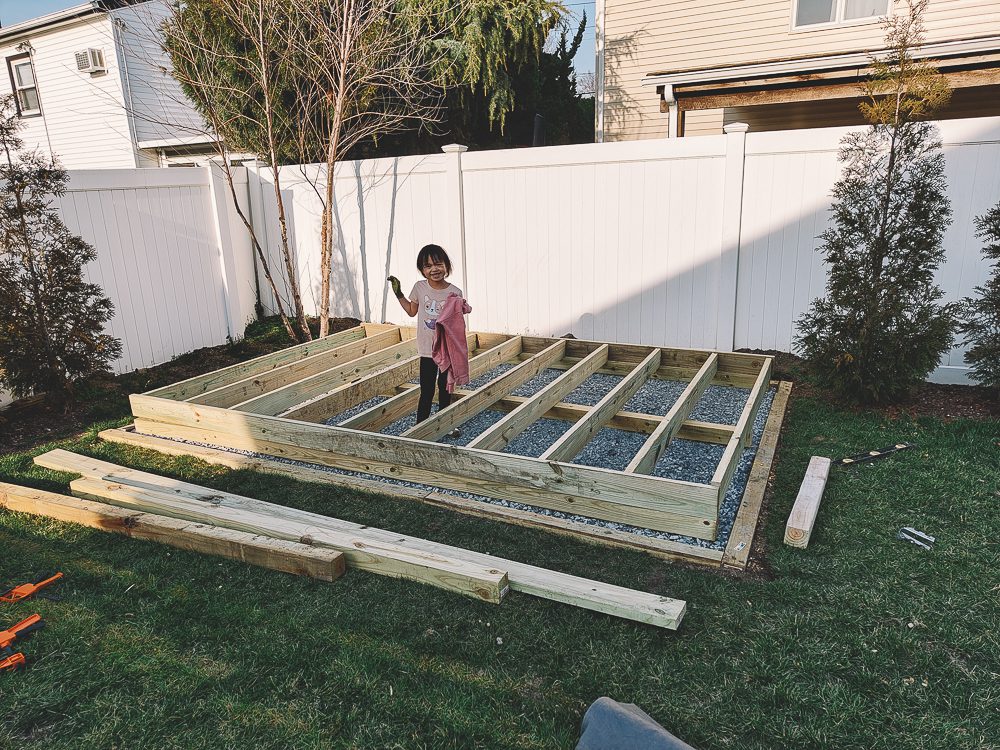
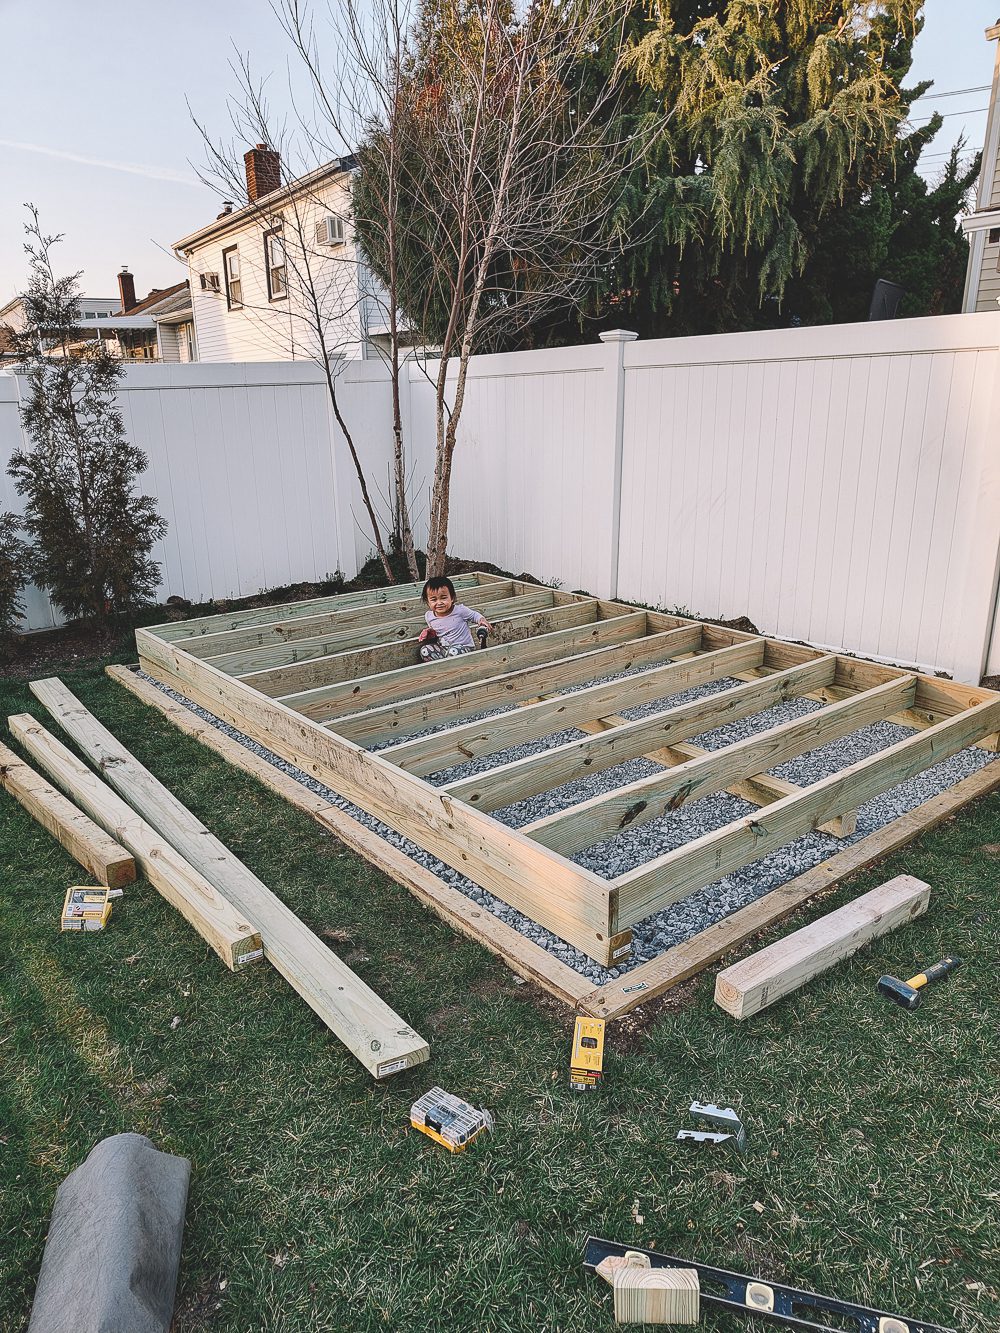
Base
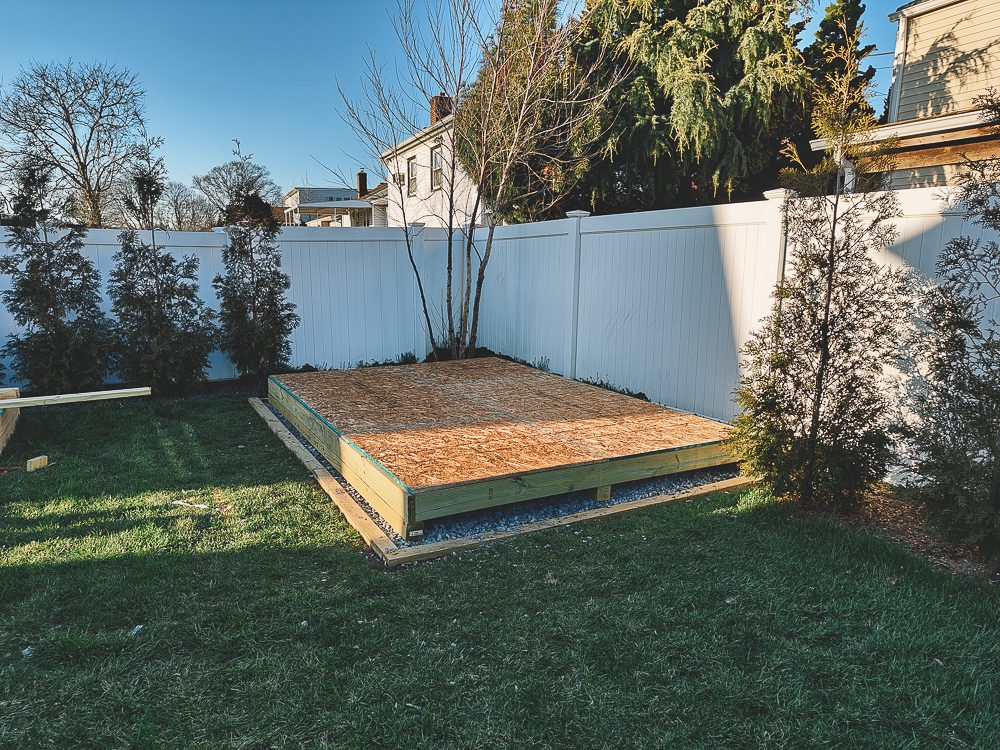
The next part of the shed was laying the skids which would help elevate the deck off the ground. This just prevents moisture and helps protect the floor from too much contact with water. Yes I am using Pressure treated boards but this will just add to the longevity of the structure, at least that’s the plan. I used 4x4x12 for the skids and 2x6x8 for the floor. I probably could’ve gotten away with 2×4 but I decided to go with the thicker board for strength because you know I plan to house a nuclear warhead inside this shed (that was a joke). After getting everything lined up and semi-squared I went ahead and used a nail gun to put the boards together. That was fun! It resulted in a pretty square base where the shed will go on top of. I used OSB for the flooring. Of course it was rained on for quite a few days.
Leave a Reply